

C言語でLチカ
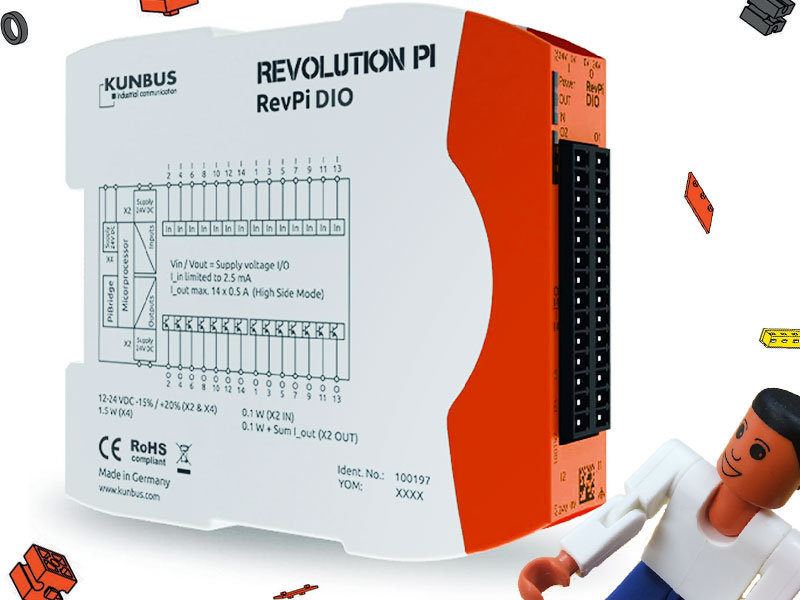
RevPi DIO
パート2ではターミナルからLEDの点灯・消灯を行いました。今回はモジュールを追加してスイッチも扱います!
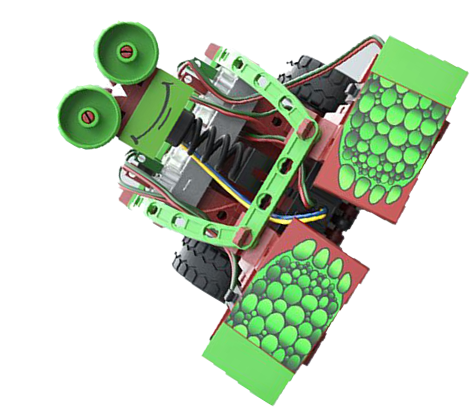
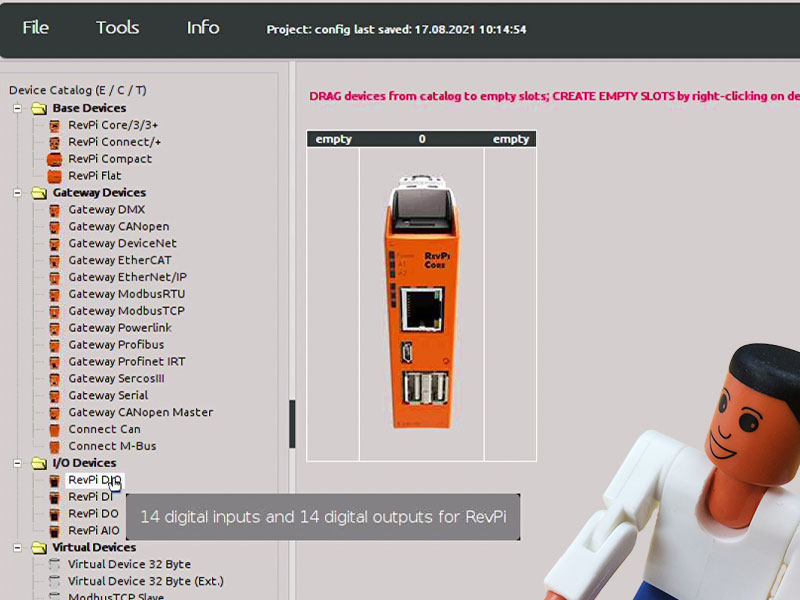
追加するモジュールは『RevPi Digital I/O モジュール』(以下DIOモジュール)です。
入力-14 出力-14となっています。
より詳しくは Kunbusで↓
ドイツ語(英字のテロップもあり)動画でも説明動画があります↓

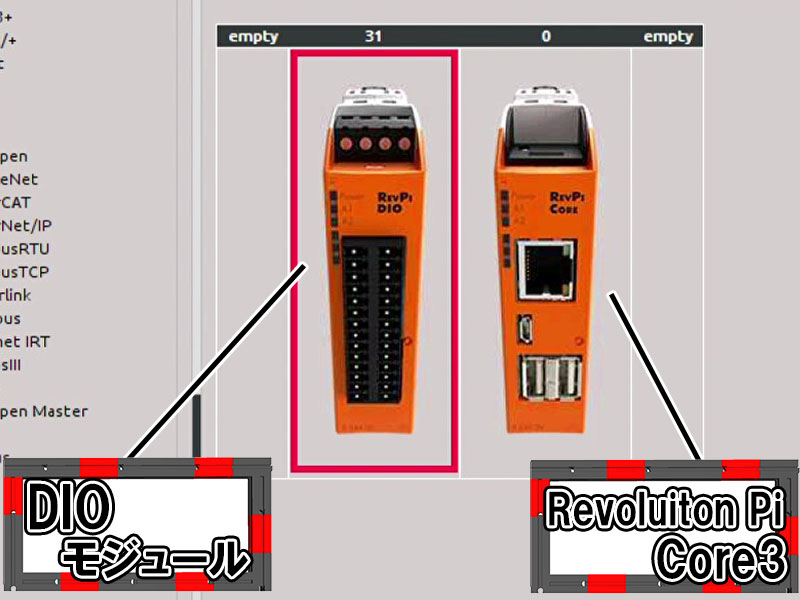
Revlution Pi と DIOモジュールの接続は
左側にDIOモジュール 右側にRevolution Pi
となるように接続します。逆に取り付けると壊れる危険があるとのことなので注意が必要です。
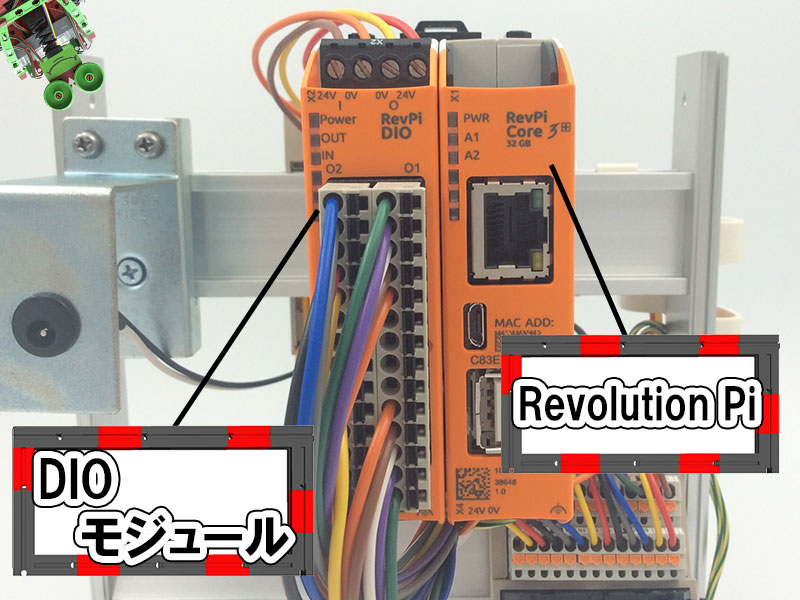
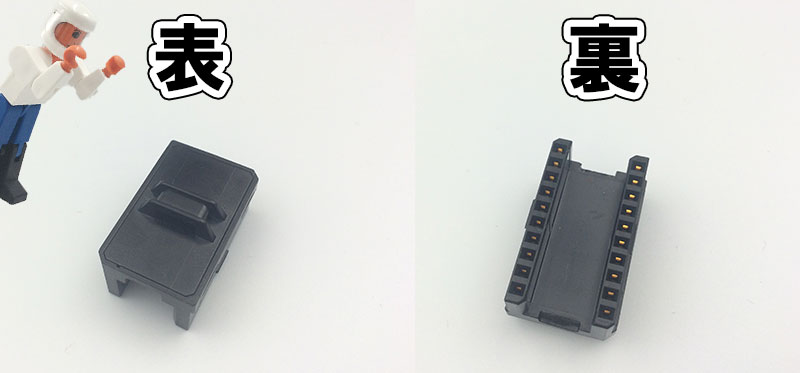
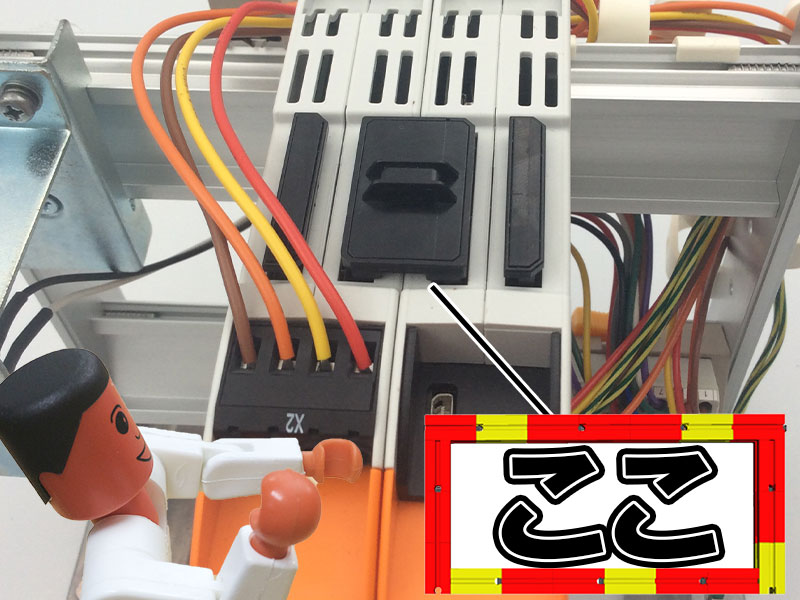
DIOモジュールとRevolution Piの接続はPiBridgeと呼ばれるプラグで行います。両機体の上部に橋をかけるように接続します。
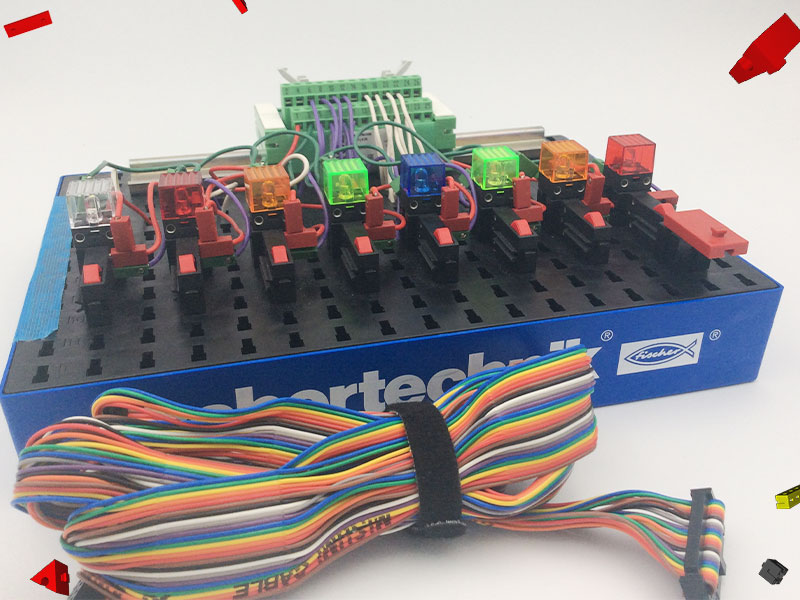
スイッチとLEDを配線する
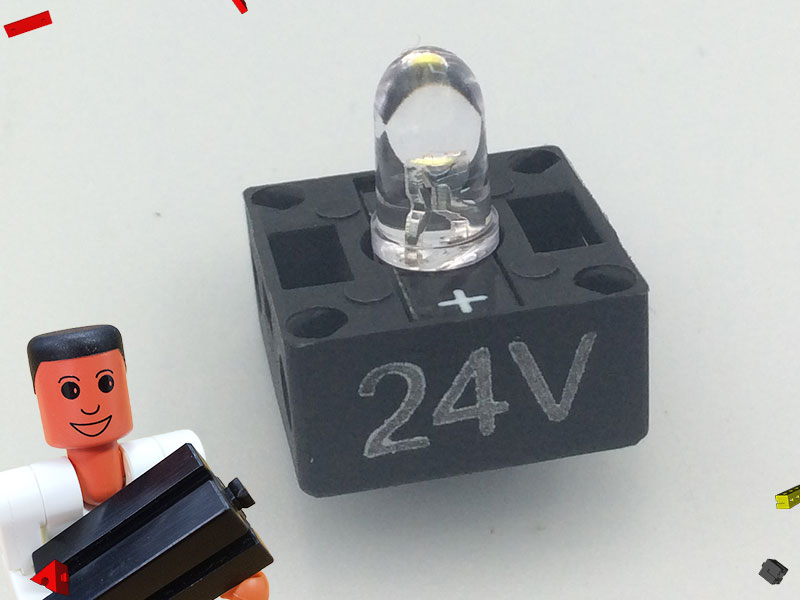
DIOモジュールからスイッチ・LEDへの配線を行います。スイッチとLEDはフィッシャーテクニックのものを使用します!しっかりと24V使用のLEDを使います!
DIOモジュールへの配線を行う際のピンの割り当てなどの情報はKunbusより↓
下の写真のように配線し、取り付けました。

PiCtoryで準備
Revolution Pi に電源を入れ、PiCtoryにログインします。
Revolution Piの電源の入れ方や、PiCtoryの起動はパート2で行っていますのでわからない方はぜひそちらをご覧ください。
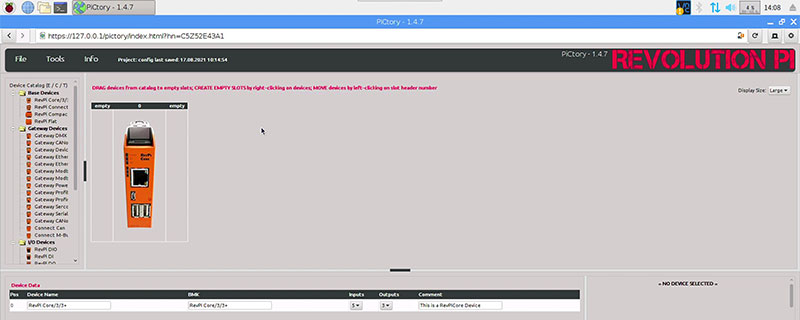
画面左側端にある、【Device Catalog】の中からドラッグアンドドロップで Revolution Pi Core3の画像の左側へ配置していきます。
【I/O Devices】の中にある RevPi DIO をドラッグアンドドロップします。
左側にDIOモジュール 右側にRevolution Pi
となるように配置します。
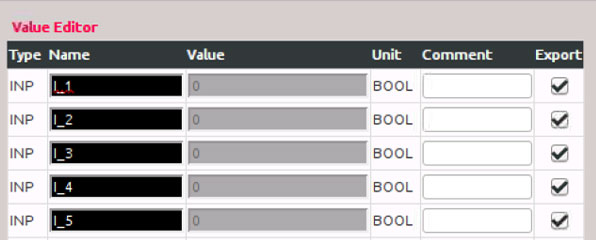
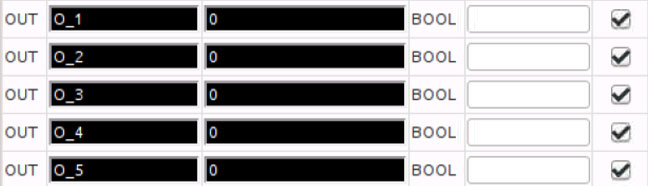
画面下の方にある『Value Editor』の【Typename】を把握しておきます。
今回は下画像内の 『I_1』と『O_1』を指定して使用します。

C言語でLチカ
とうとうプログラミングでLチカです!
Kunbusのホームページにあるダウンロードページにはサンプルプログラムがあるのでそれを使用します。
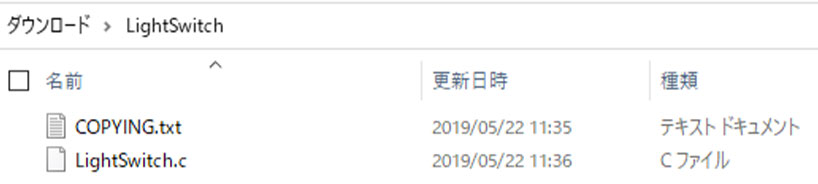
【Sample codes】の中の Sample code from video tutorial no. 13 というファイルをダウンロードします。『Sample code used in our video tutorial no. 13 “PiTest Sourcecode”.』と書かれているファイルです。
ダウンロードしたファイルZipファイルになっているので解凍する必要があります。
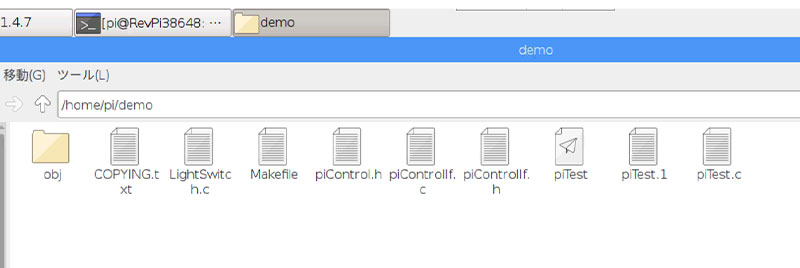
次はRevolution Pi の【demoフォルダ】中に解凍したファイルを転送、配置します。
LightSwitch.c中身
- /*=======================================================================================
- *
- * KK KK UU UU NN NN BBBBBB UU UU SSSSSS
- * KK KK UU UU NNN NN BB BB UU UU SS
- * KK KK UU UU NNNN NN BB BB UU UU SS
- * +----- KKKKK UU UU NN NN NN BBBBB UU UU SSSSS
- * | KK KK UU UU NN NNNN BB BB UU UU SS
- * | KK KK UU UU NN NNN BB BB UU UU SS
- * | KK KKK UUUUUU NN NN BBBBBB UUUUUU SSSSSS GmbH
- * |
- * | [#] I N D U S T R I A L C O M M U N I C A T I O N
- * | |
- * +-------------+
- *
- *---------------------------------------------------------------------------------------
- *
- * (C) KUNBUS GmbH, Heerweg 15C, 73770 Denkendorf, Germany
- *
- * This program is free software; you can redistribute it and/or modify
- * it under the terms of the GNU General Public License V2 as published by
- * the Free Software Foundation
- *
- * This program is distributed in the hope that it will be useful,
- * but WITHOUT ANY WARRANTY; without even the implied warranty of
- * MERCHANTABILITY or FITNESS FOR A PARTICULAR PURPOSE. See the
- * GNU General Public License for more details.
- *
- * For licencing details see COPYING
- *
- *=======================================================================================
- */
- #include <piControlIf.h>
- #include <piControl.h>
- #include <string.h>
- #include <stdio.h>
- int main(int argc, char ** argv)
- {
- int i = 0;
- int iLastInputValue = 0;
- char *pchInput = NULL;
- char *pchOutput = NULL;
- // structures containing variable information: Name, Offset, Bit, Length
- SPIVariable spiVariableIn = {"", 0, 0, 0};
- SPIVariable spiVariableOut = {"", 0, 0, 0};
- // structures containing variable value: Offset, Bit, Value
- SPIValue sValueIn = {0, 0, 0};
- SPIValue sValueOut = {0, 0, 0};
- if(argc != 3)
- {
- printf("Usage: %s <PiCtory Input Pin> <PiCtory Output Pin>\n"
- " i.e. %s Input_Pin_1 Output_Pin_1\n", argv[0], argv[0]);
- return 0;
- }
- pchInput = argv[1]; // PiCtory input pin for Switch
- pchOutput = argv[2]; // PiCtory output pin for Light
- strncpy(spiVariableIn.strVarName, pchInput, sizeof(spiVariableIn.strVarName));
- strncpy(spiVariableOut.strVarName, pchOutput, sizeof(spiVariableOut.strVarName));
- i = piControlGetVariableInfo(&spiVariableIn); // PiBridge - get variable info
- if(0 != i) // handle error
- {
- fprintf(stderr, "Error: piControlGetVariableInfo() returned %d for variable '%s' \n",
- i, spiVariableIn.strVarName);
- return -1;
- }
- i = piControlGetVariableInfo(&spiVariableOut); // PiBridge - get variable info
- if(0 != i) // handle error
- {
- fprintf(stderr, "Error: piControlGetVariableInfo() returned %d for variable '%s' \n",
- i, spiVariableOut.strVarName);
- return -1;
- }
- sValueIn.i16uAddress = spiVariableIn.i16uAddress;
- sValueIn.i8uBit = spiVariableIn.i8uBit;
- sValueIn.i8uValue = 0;
- sValueOut.i16uAddress = spiVariableOut.i16uAddress;
- sValueOut.i8uBit = spiVariableOut.i8uBit;
- sValueOut.i8uValue = 0;
- printf("%s is running waiting for switch '%s' \n", argv[0], pchInput);
-
- while(1)
- {
- i = piControlGetBitValue(&sValueIn); // PiBridge - read input pin
- if(0 != i) // handle error
- {
- fprintf(stderr, "Error: piControlGetBitValue() returned %d\n", i);
- return -1;
- }
- if(iLastInputValue != sValueIn.i8uValue) // if button state changed
- { // show the change
- printf("%-32s : %d \n", pchInput, sValueIn.i8uValue);
- if(0 == sValueIn.i8uValue) // if button is released
- {
- if(1 == iLastInputValue) // and was pressed before
- { // switch light
- sValueOut.i8uValue = ~sValueOut.i8uValue;
- // PiBridge - set output pin
- i = piControlSetBitValue(&sValueOut);
- printf("%-32s : %s \n", pchOutput, sValueOut.i8uValue ? "On" : "Off");
- if(0 != i)
- {
- fprintf(stderr, "Error: piControlSetBitValue() returned %d\n", i);
- return -1;
- }
- }
- }
- }
-
- iLastInputValue = sValueIn.i8uValue; // remember last input value
- }
- return 0;
- }
次ははRevolution Piのターミナルへ
lsでフォルダの中を確認後、demoフォルダへ移動しフォルダのにLightSwitch.cがあることを確認
lscd demols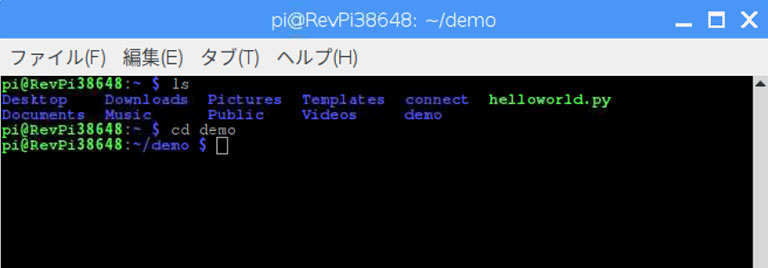
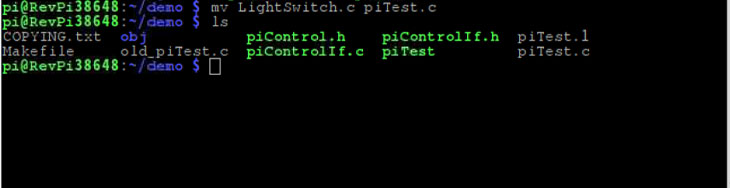
ファイル名をLightSwitch.c から piTest.c へと変更します。もともとある piTest.c は別のファイル名にと変更しておきます。今回はold_piTestとします。
piTest.c →old_piTest.c
LightSwitch.c → piTest.c へと変更します。
mv piTest old_piTestmv LightSwitch.c piTest.cmake コマンドでコンパイルします。
プログラムを実行します。PiCtoryでのTypenameを指定します。
make./piTest I_1 O_1できました!
しっかりと点灯・消灯しています!

SNS

http://Amazon.co.jpアソシエイト・プログラムの参加者です。